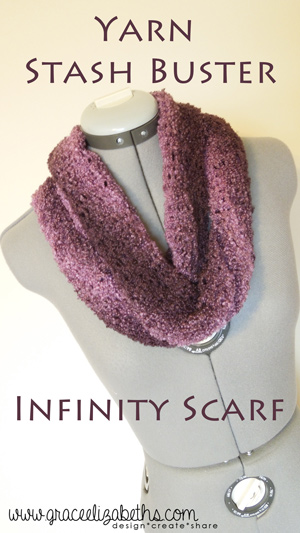
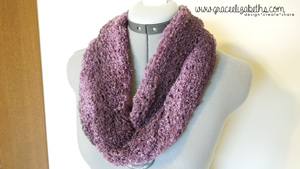
Well, in case you were wondering, my stash of yarn still exists! It’s slowly dwindling, but with every new project I take on there’s always that awkward half skein left over. And that’s exactly how I acquired the yarn I used in this project!
I originally used this yarn to whip up a quick scarf for a co-worker as a Christmas gift. I loved how soft the yarn was and the color variegation. The yarn skein was one of those extra large ones ideal for making a blanket, so I shouldn’t have been surprised to have so much yarn left over after one measly scarf.
Since the first scarf was meant as a gift, I made the executive decision that the second one should be for me! I’ve recently really enjoyed infinity scarves, so I thought this would be the perfect opportunity to create my own. But I wanted to try something a little new with this scarf – instead of knitting a long scarf and then sewing the ends together, I wanted to try to make it on circular needles as a continuous loop.
It worked! I couldn’t tell you how many stitches I cast on to begin with (silly me for not writing these things down) – but it was however many I felt would be enough to loop around my neck twice. Then I joined the round as I started knitting my first row (or in this case round).
If you’ve never knitted on circular needles, there’s no need to feel intimidated. It’s not as difficult as you’d think! This video does an excellent job of explaining two simple ways to join your round together, just remember to place your stitch marker on the right side needle before you join so you always know the beginning of a new round. Another thing I would add is that you can make the join a little bit stronger by knitting the first couple stitches with the tail as well (so you will have two threads of yarn treated as one). Then after the first two stitches, just drop the “tail” behind and keep knitting with just the yarn from the skein!
And if you have knitted in the round before, there’s no shame in watching a video as a refresher 🙂 I know that I need to refresh myself on many stitches and techniques as I start a new project – simply because I’m afraid that I’ll remember them incorrectly and get halfway through a project before realizing it – Yikes! (A knitting nightmare!)
After the round was joined, I just continued with a garter stitch. One thing to point out when knitting in the round as opposed to straight needles is that in order to see the garter stitch pattern, you are actually alternating between the knit stitch and purl stitch each row. Are you tracking with me? On straight needles the garter stitch is simply knitting every row. But because when you knit in the round, there is no flipping of your project from one side to the other, the garter stitch pattern requires you to alternate knitting one round then purling the other round. If you’re still confused, here’s another video 😉
From then on out I continued in the garter stitch until I felt it was the right width. I wanted it to be wide enough to create a warm fluffy layer doubled around my neck, but not so wide that it was a big heavy mess. In the end, I think it turned out just perfect!
What do you think of my newest stash buster project? Will it help you eliminate some of your stash?
Courtney is a member of the GE Creative Team and is the monkey in the middle of this trio of sisters. Her degree might be in English and Spanish Education, but she’s following God’s call on her life and pursuing full time ministry with The Navigators. If she’s not crafting, reading, or hanging with her hubby, you’ll probably find her at a local coffee shop sipping her caramel latte and opening up the Bible with college women.
