Do you like gifting quilts? Try this easy personalized jelly roll quilt pattern. If you are a prolific quilter, gifting comes naturally, right?! Who can keep all that goodness for themselves?
We have friends who became foster parents to a young woman, Alicia, about to “age out” of the system. This means, that in my state, once a child turns 19, they are on their own. I started to think about that. As time drew closer for Alicia to move into her own apartment I remembered how hard it was when I moved out of my family home. Where would I find furniture, kitchen items, bedding, and bathroom supplies? Having a great family support system made my transition easy. However, the transition for these “aging out” teens is a bit more tricky.
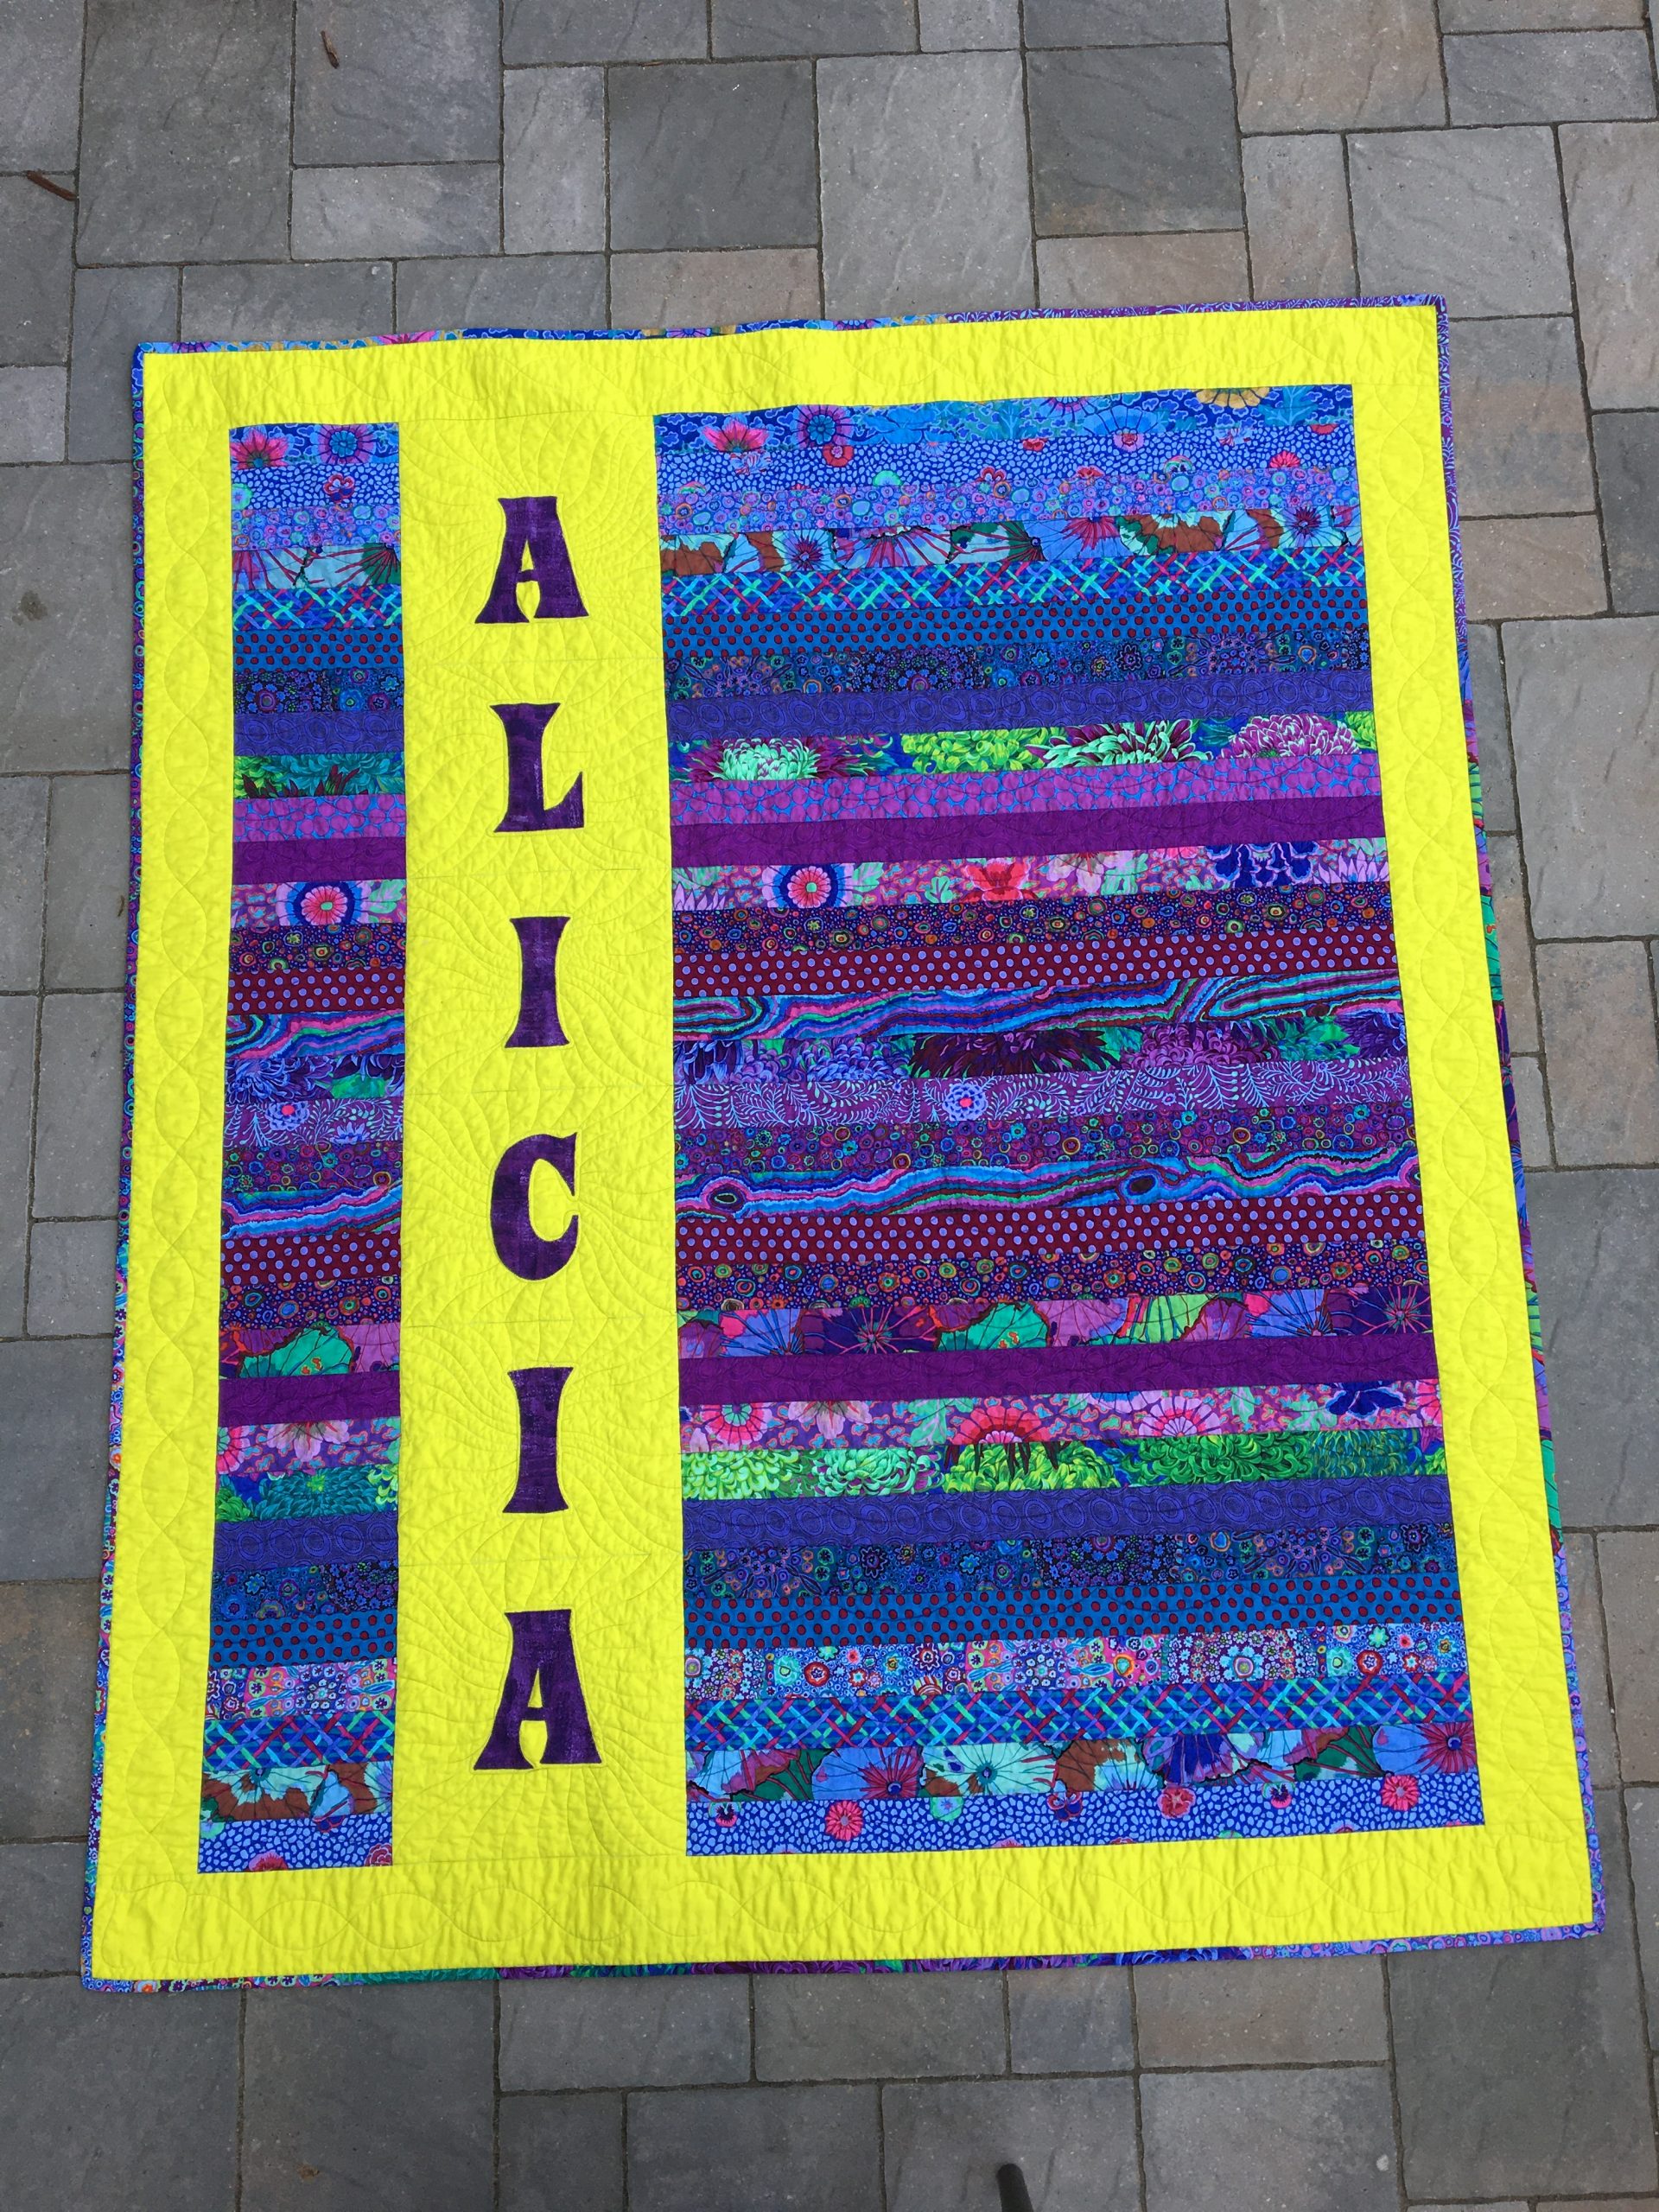
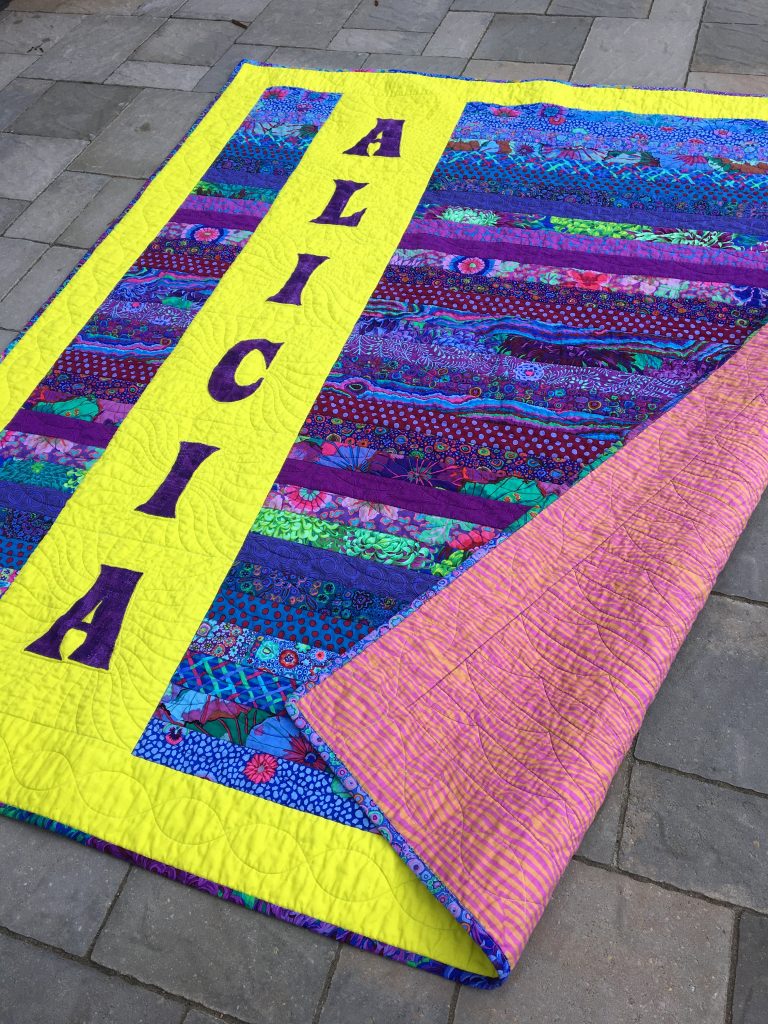
Since God put a strong burden on my heart to help Alicia in some way, I decided to make her a quilt. Alicia likes purple so I found a Kaffe Fassett jelly roll and started to play with design. I wanted to make it simple with the hope of making more of these in the future.
I felt it was important to have Alicia’s name on it. It gives her full claim to it and it is hers to keep. She doesn’t have to share it or leave it behind.
Below are the instructions if you would like to make a personalized Jelly Roll quilt. If you would like a PDF with all the details, you can purchase it from my shop for $5.
MATERIALS NEEDED
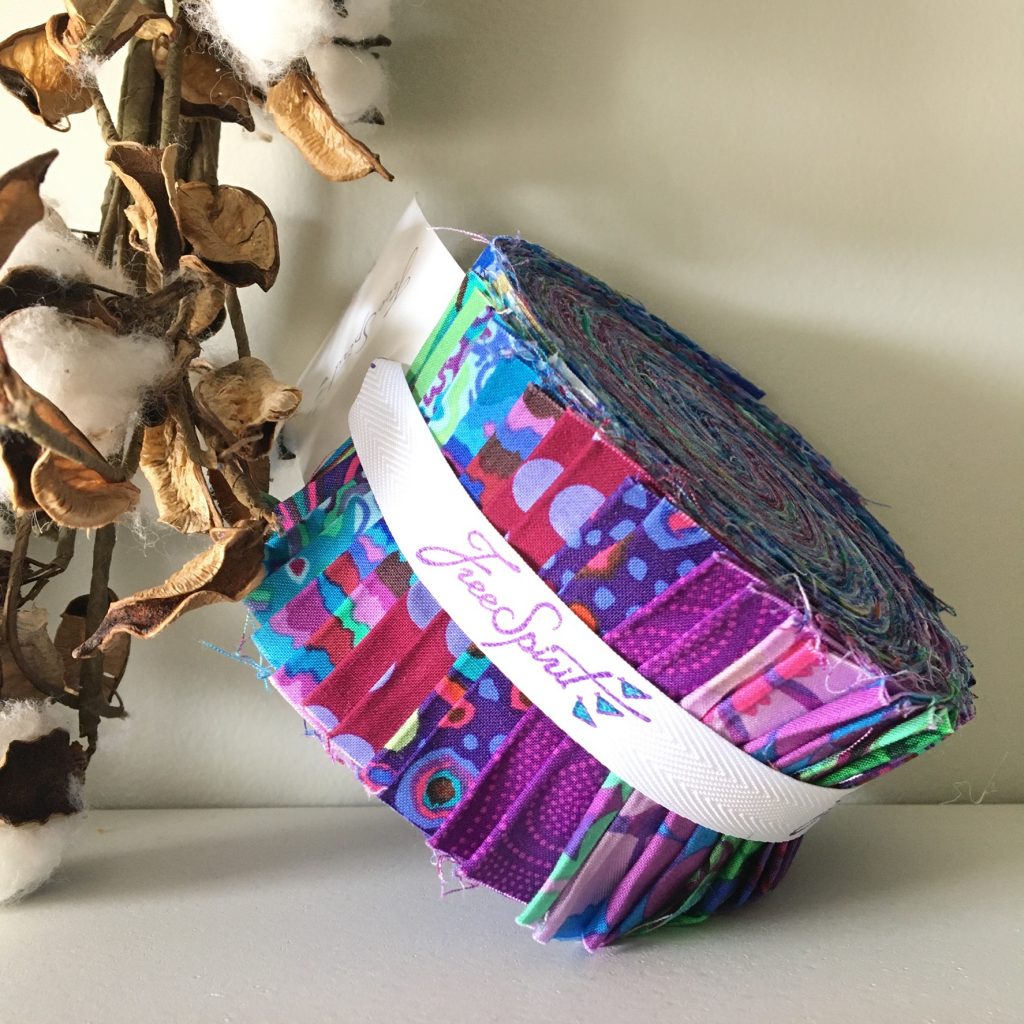
- 1 Jelly roll (40— 2 1/2” strips of fabric 44” wide)
- 1 7/8 yds coordinating solid fabric for background and borders *There should be enough to cut lengthwise on fabric, avoiding seams
- 1/3 yd coordinating fabric for appliqued letters
- 2/3 yd fusible, paper-backed webbing (I use Pellon 805 Wonder Under)
- 4 yds for Backing
- Batting
DIRECTIONS
Jelly Roll Quilt Top
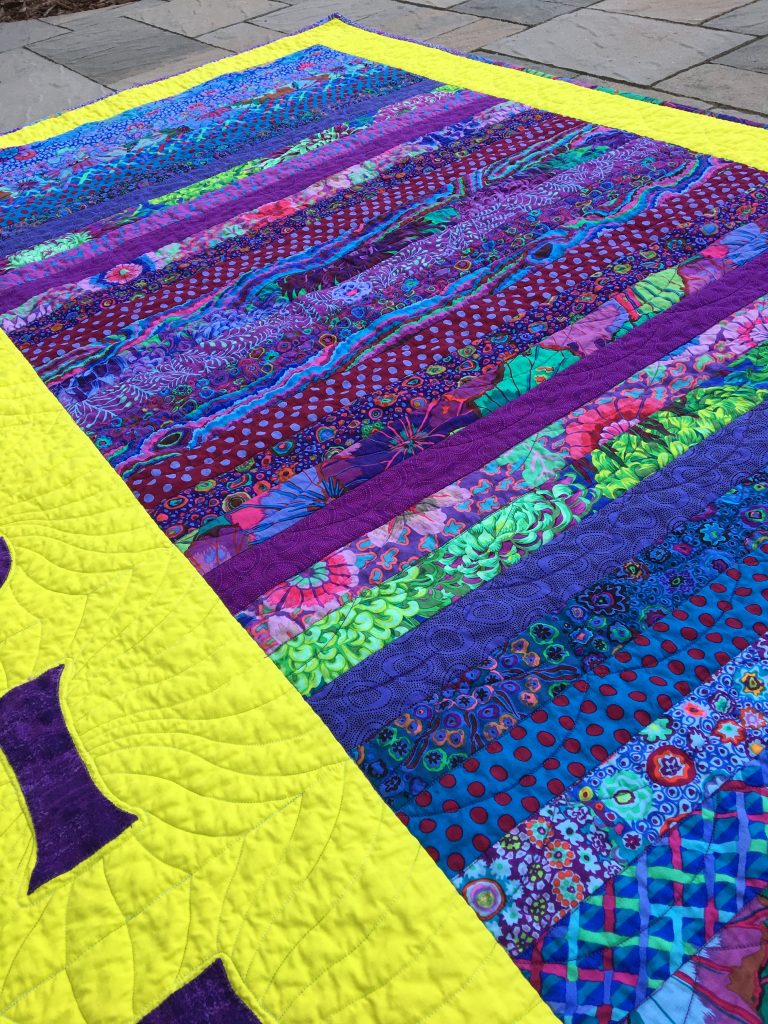
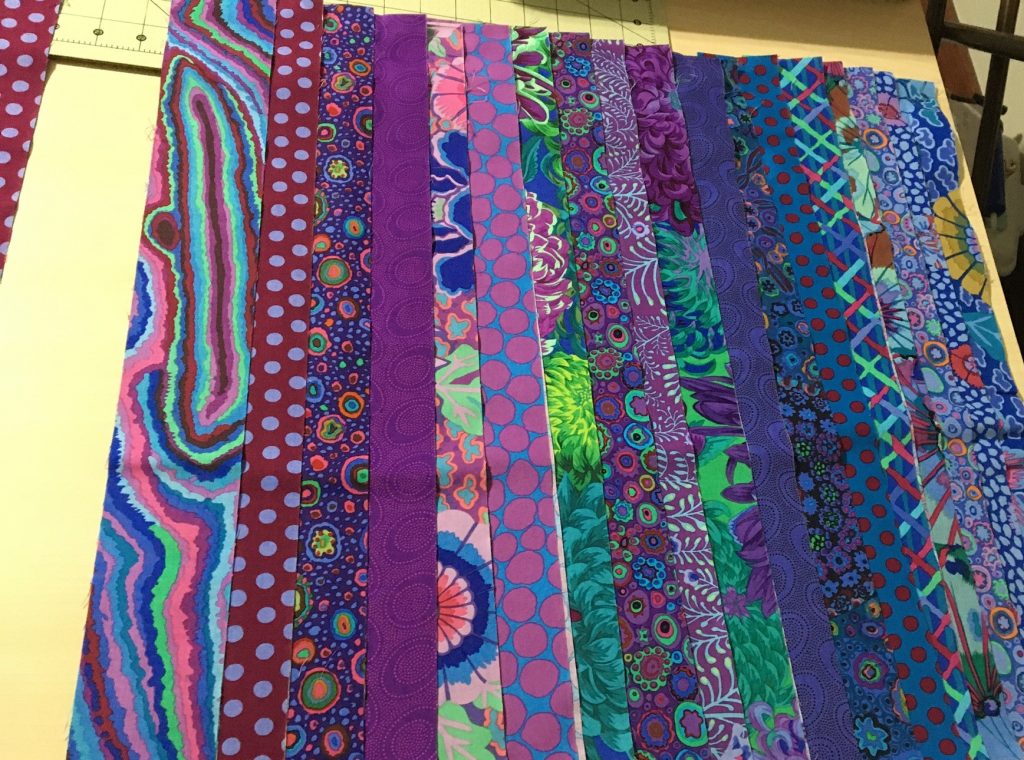
To begin, select 32 strips of the 40 Jelly Roll strips and set aside the remaining strips. These will be used later for binding. Next, lay out strips horizontally, arranging them randomly or in a planned order. Since Alicia loves purple, I made sure they were concentrated in the middle of the quilt. Once the order of the strips is determined, sew them together along the long edges. Keep in mind you want to create a rectangle shape. Not all strips will be equal in length and some may have salvages. I alternate sewing direction from one end to the other. This helps keep the top from growing into a distorted shape.
Once all strips are sewn together, iron all seams in one direction. Then, square up the quilt top, trimming off any salvages on the edges. The size of this piece will vary and this is okay.
Letter Appliques
Cut Background Fabric 12.5″ wide x __?__long: To determine the vertical length (VL) of the background piece for the letters, lay out the pieced jelly roll quilt top. Find the center point across the top and the bottom and measure the vertical length. Place this number in the place of the ? above. Remember, you can cut this lengthwise on the fabric to avoid seams. Set aside for later use.
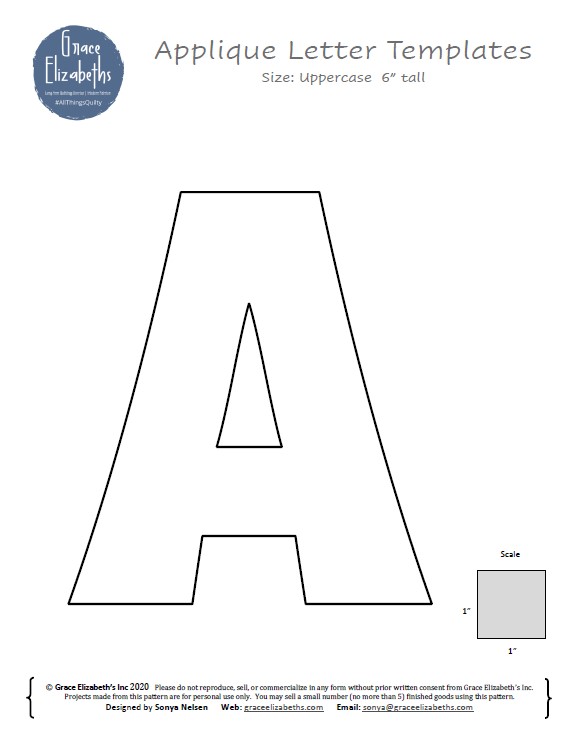
LETTERS: (Click here for a detailed tutorial on adding fusible adhesive to appliques) You can create applique letters simply by typing a bold font into a Word document. The letters I printed were 6 inches high. Each font’s sizing will be different so you will have to play with it a little. Click the button below for an alphabet set you can download for free.
Once letter templates are selected, trace letters onto the paper side (not the webbing side) of the fusible webbing. Remember to flip the letters and trace the mirror image. Using a lightbox or window is helpful. Next, cut around your letters from the fusible webbing leaving 1/4” or more just to have a little extra wiggle room.
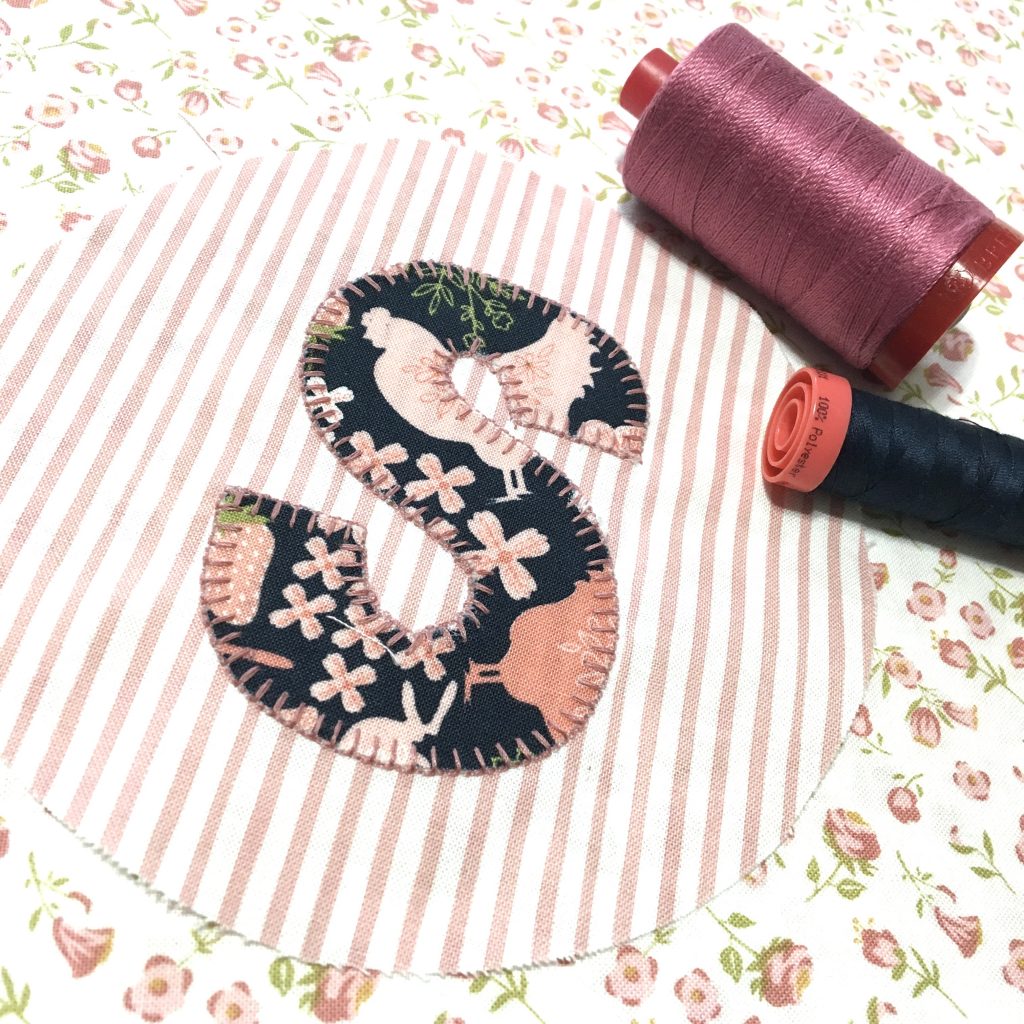
Now arrange the letters on the wrong side of the fabric selected for the letters. Remember to place them with the grain unless that does not bother you or you are trying to fussy cut a design element. Iron onto fabric according to directions from the webbing you are using. Once cooled, cut out letters following the traced lines. Pull off the paper.
Arrange letters (webbing down) on a 12” wide background strip that was set aside. Once you are happy with the arrangement, pin to the background and Iron letters onto the background fabric according to the directions. Now you are ready to sew around the letters. You can do this by hand or by machine. I use my triple stitch blanket stitch on my sewing machine.
Assemble Quilt
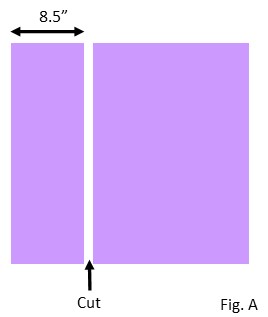
From the left side of the Jelly Roll quilt top, measure and cut an 8.5” vertical strip. You now have 2 pieces. Fig A.
With the right sides together, place the letter strip on top of the 8.5″ jelly roll strip, using Wonder Clips or pins to secure it for sewing. Sew together. Again with the right sides together place the remaining strip quilt top on the letter strip. Secure with Wonder Clips or pins and sew together. Press seams.
Vertical Border Strips: – cut 2 strips 4.5″ by VL (VL = vertical length determined above). Sew on the sides of the quilt top and press.
Horizontal Border Strips: Determine the horizontal length by laying out the quilt top. Find the center point along the right side and left side side and measure across for the horizontal length (HL). Cut 2 strips 4.5″ by HL just determined. Sew on top and bottom of the quilt top, press seams.
Backing, Quilting and Binding Your Quilt
Back, quilt, and bind your quilt in the manner of your choice. Remember, you set aside strips at the beginning that could be used for binding if you choose.

Final Note
I hope this fun jelly roll quilt pattern inspires you to quilt with others in mind. If you are interested in quilting for “aging out” teens, contact a local Foster Care organization.
Happy Quilting!
Sonya
Entrepreneurship flows in Sonya’s blood. Some businesses include an artistic rubber stamp manufacturing business, opening and running a bed & breakfast, having a fabric and yarn shop, and currently growing her professional longarm quilting business. As a serial entrepreneur, she loves to mentor and coach small businesses. She misses farm life, loves to travel, and enjoys her husband, children, their spouses, and of course the grandkids.