This article is all about how to use fusible adhesive to apply appliques to your projects. Why would you add appliques to a project? Appliques may be a part of the design element or strictly embellishment. This tutorial will cover:
- Choosing an applique design
- Materials needed
- Transferring the design to fusible adhesive
- Adhering the fusible adhesive design to fabric to create the applique
- Adhering the newly created applique to the project
- Finishing touches
Choosing an applique design
There are numerous projects which can utilize the applique technique: quilts, bags, pillows, clothing, baby items, etc. In this article we will cover fusible adhesive applique. Let me mention, you can applique without the adhesive by turning under a 1/4″ seam allowance, pining it and hand stitching it or machine stitch it to the project. Also, if you are fortunate to own a machine that has an embroidery module, you can use it to add applique to your project.
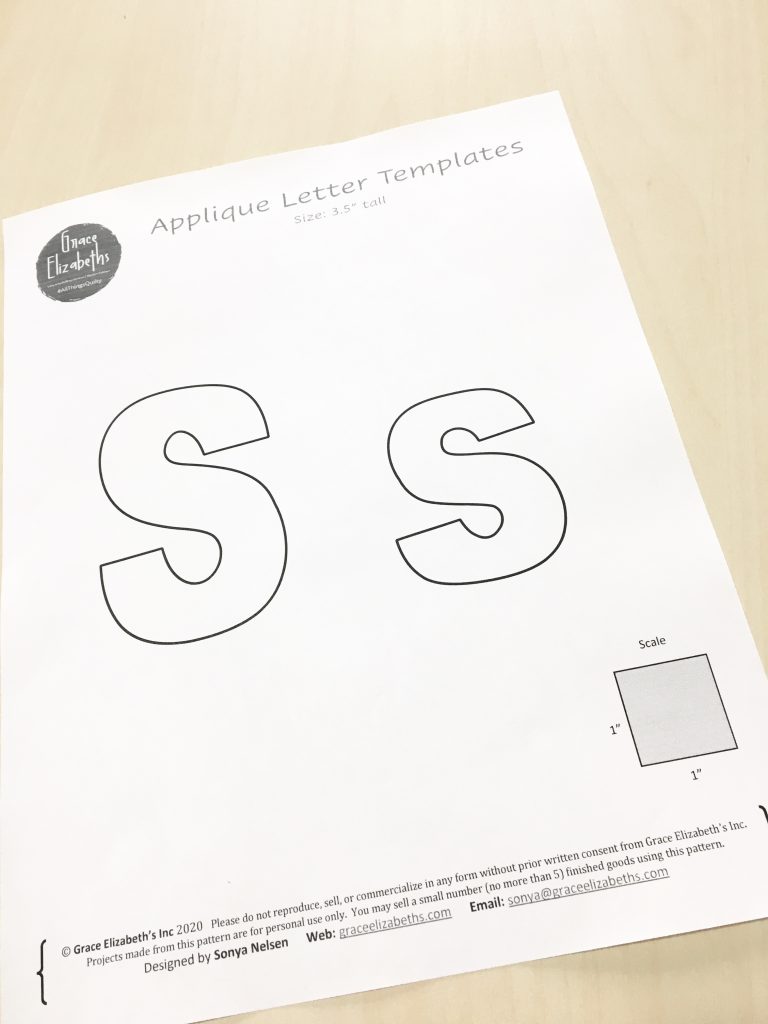
Choosing an applique for your project needs some thought. Are you new to this technique? Then stick to simple, broad designs. I like to start students out with letters. They are great to personalize an item and fairly easy to do. Look for broad simple lines and avoid skinny cursive designs. Check out my letter templates. You can download them free from my shop.
Free Downloads
Materials needed
- Fusible adhesive (Pellon 805 Wonder Under paper-backed fusible web)
- Printed applique design template
- Fabric to use as the applique and a project to adhere new applique to
- Light source – Lightbox or window
- Tracing pencil or pen
- Scissors
- Iron, ironing board & pressing cloth
- Embroidery Stabilizer (Sulky’s Stiffy tear away stabilizer)
Fusible adhesive I use most is Pellon’s 805 Wonder Under paper-backed fusible web. There are other good fusibles on the market. I just happen to have this one in my stash, so I use it.
The tear away stabilizer I use most is Sulky’s Stiffy tear away stabilizer. As with fusible adhesives, there are several stabilizers on the market. I happen to have Sulky’s in my stash.
Transferring the design to fusible adhesive
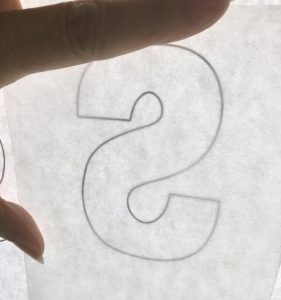
Trace letter onto the paper side (not the webbing side) of the fusible webbing. Remember to flip the letter and trace the mirror image. Using a lightbox or window is helpful. As you can see in the picture below, I use my window for backlighting my design for tracing. If you plan to do a lot of appliquing in the future, you may want to consider purchasing a lightbox.
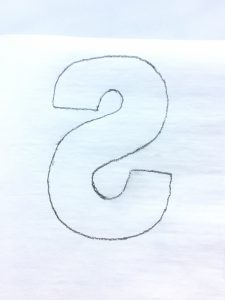
Once you have the design traced, cut around it leaving 1/4” or more just to have a little extra wiggle room.
Adhering the fusible adhesive design to fabric to create the applique
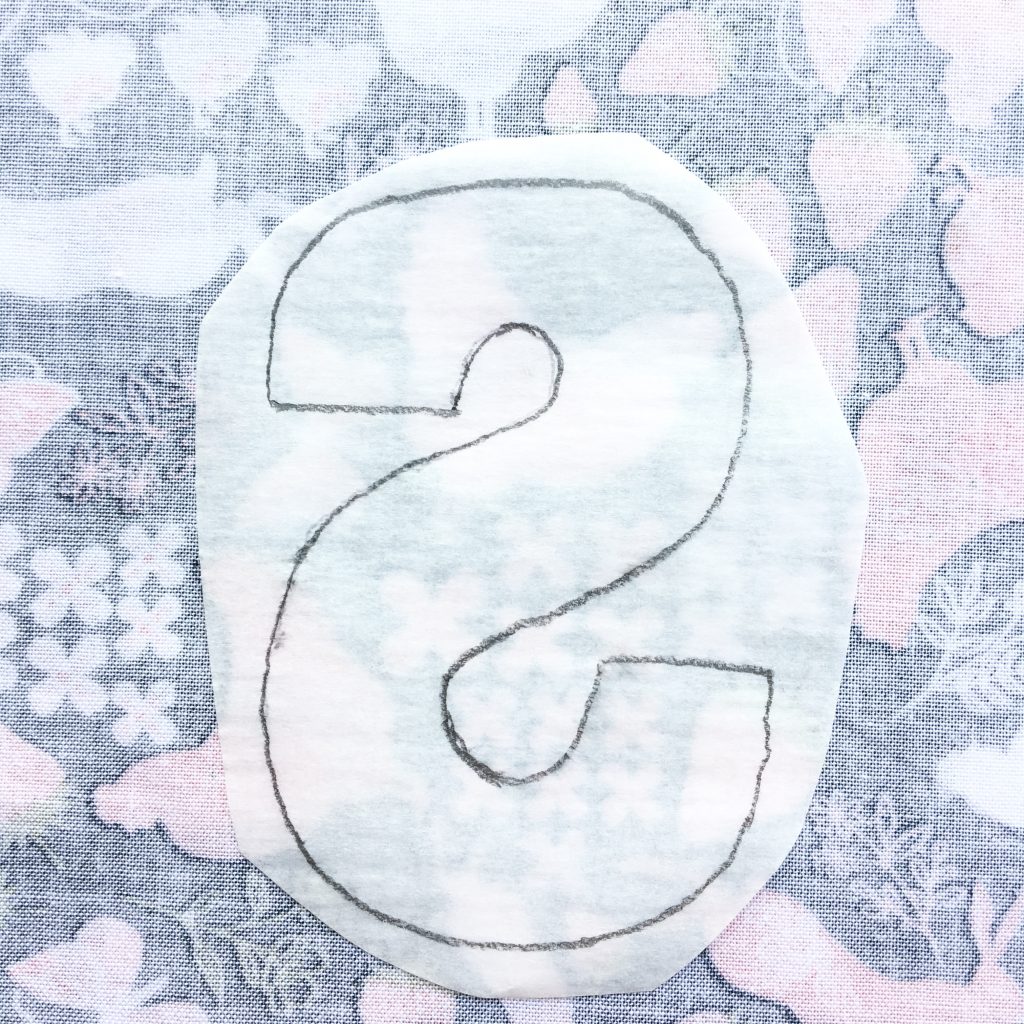
Arrange the letter on the wrong side of fabric selected for the letters. Remember to place them with the grain unless that does not bother you. Iron onto fabric according to directions from the webbing you are using.
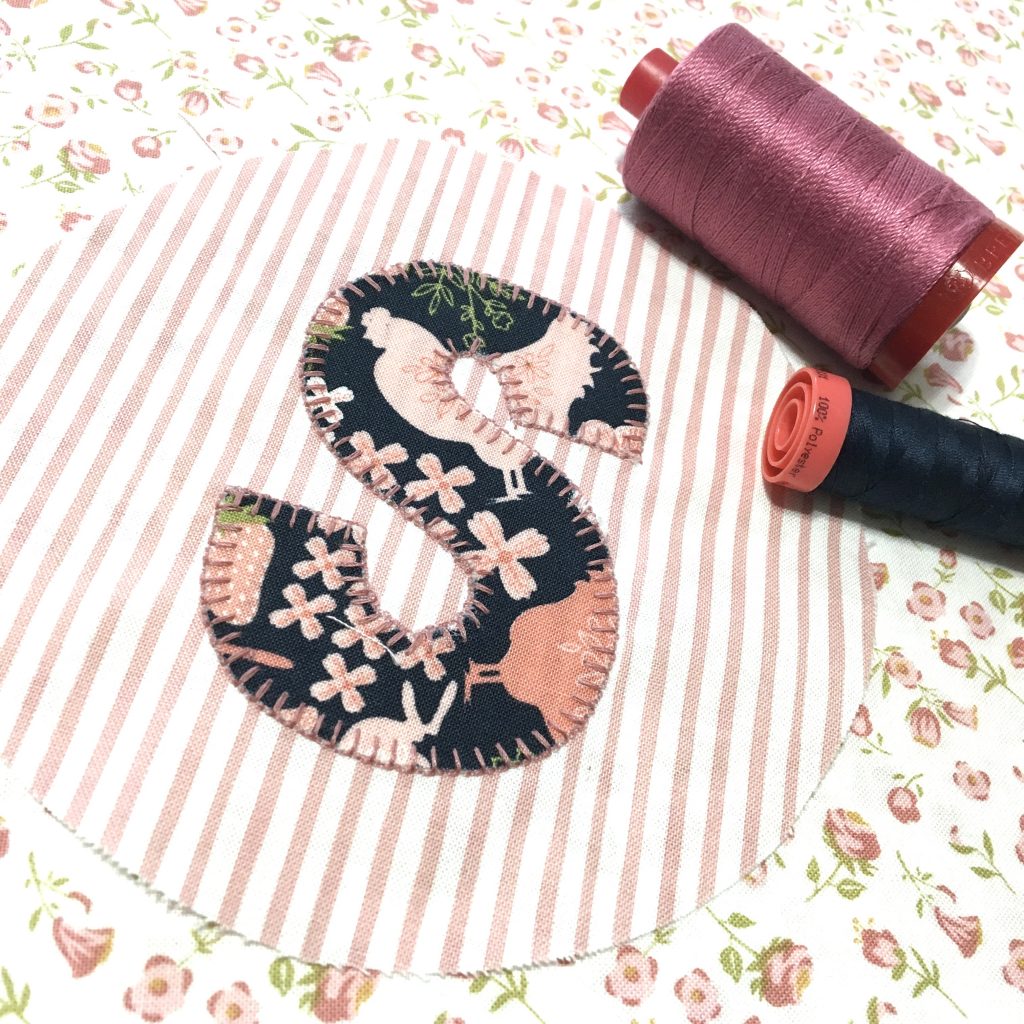
Bonus technique
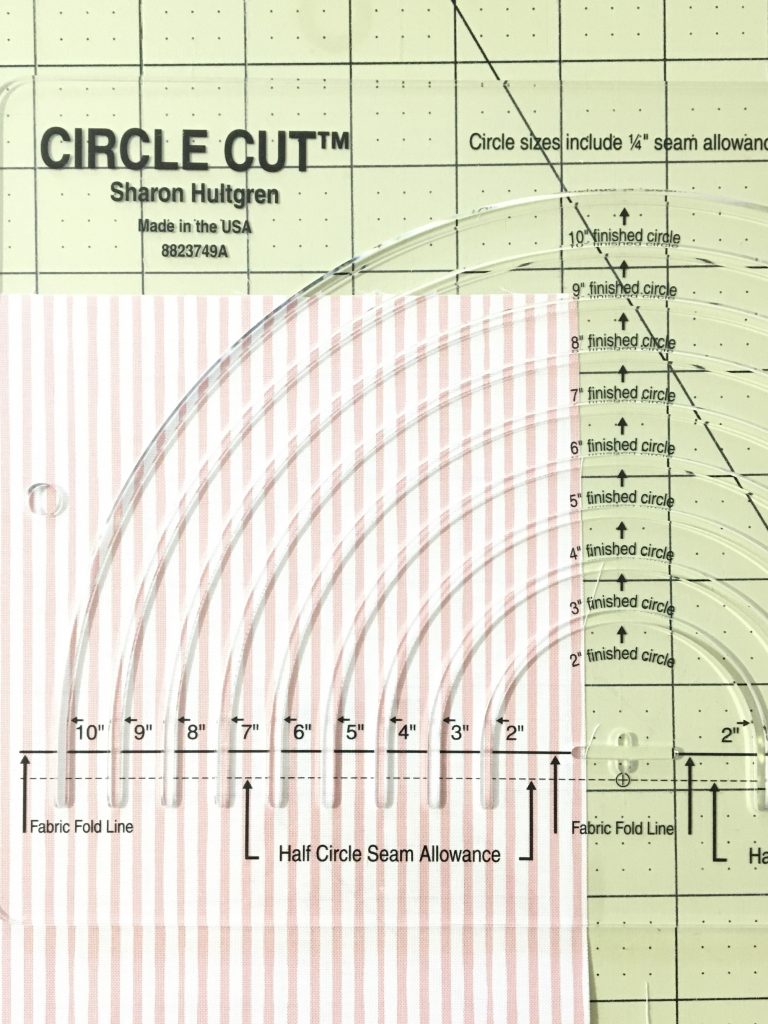
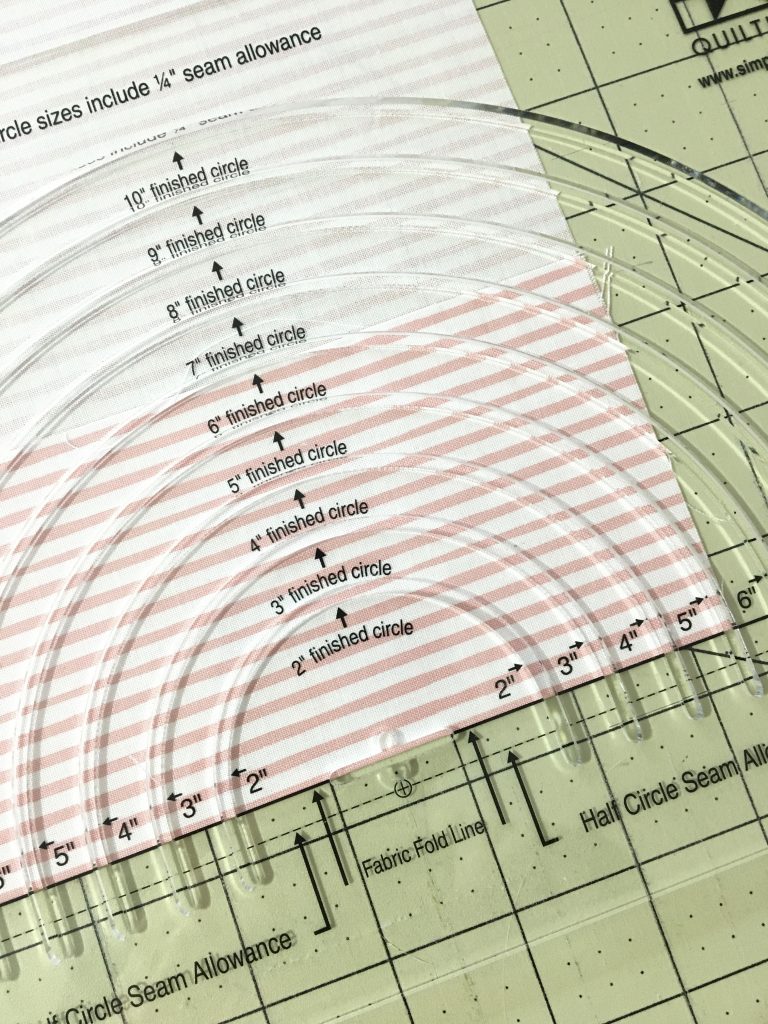
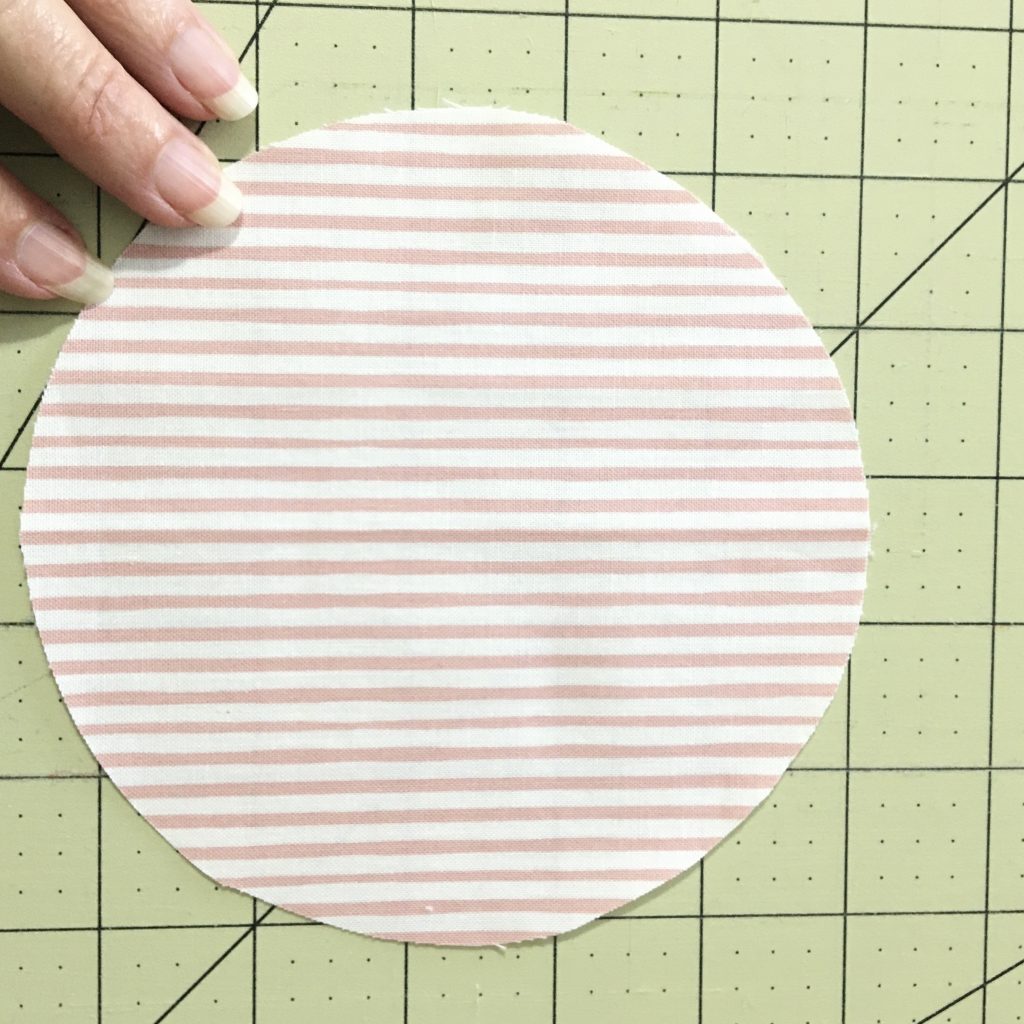
In my example, just for fun, I used a circle background for my applique design to be adhered to. I can later add this “patch” to a project such as a bag or pillow. Cutting circles is a breeze using the Easy Circle Cut ruler shown here by EZ Quilting.

Adhering the newly created applique to the project
Once the adhesive is cooled, cut out letters following the traced lines. Carefully pull off paper. There will be a thin layer of adhesive remaining on the back of the letter applique. Arrange applique (webbing down) on project. Once you are happy with the placement, pin to background and iron applique onto project according to fusible directions.
Finishing touches
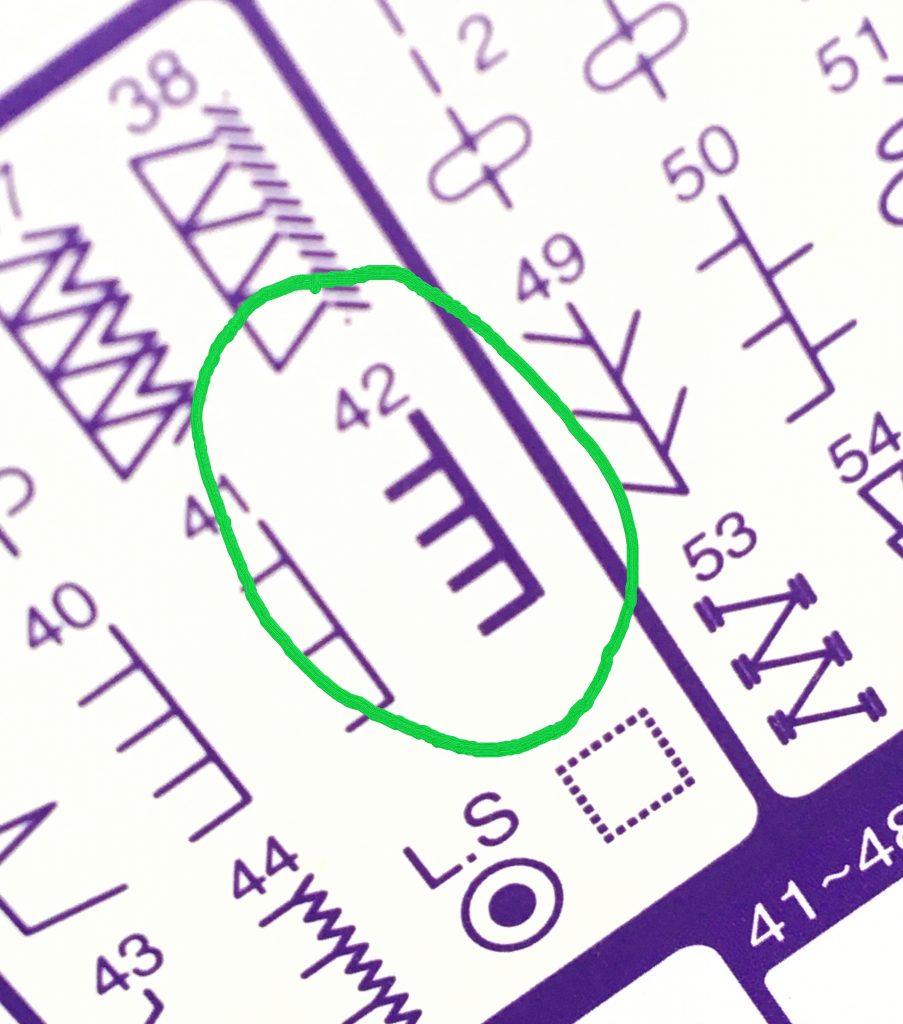
Now you are ready for the finishing touch – to sew around the letters. You can do this by hand or by machine. I use a specialty stitch on my sewing machine. It’s a triple stitch blanket stitch. If you don’t have this stitch maybe there is another one on your machine you would like to use. Experiment and play on scrap fabric to determine your stitch design, stitch width and stitch length. Please note, there is no shame in using a zig zag stitch.
IMPORTANT – if you are using lightweight fabric such as quilting cotton as I did for the background fabric, you will have better finished results by using a stabilizer on the underside. I like to use Sulky’s Stiffy – a medium weight, crisp, firm, tear-away stabilizer. It prevents tunneling, distorting of stitches and puckering of fabric. Once you are finished stitching, simply tear it away and you have a professionally finished project. If your project is a stiff canvas this tear away stabilizer may not be needed.
There you have it! You have just used fusible adhesive to apply an applique to your project. What are you going to do next? Check out this project “Personalized Jelly Roll Blanket.” (Link coming soon)
Happy Stitching!
Sonya
Entrepreneurship flows in Sonya’s blood. Some businesses include an artistic rubber stamp manufacturing business, opening and running a bed & breakfast, having a fabric and yarn shop, and currently growing her professional longarm quilting business. As a serial entrepreneur, she loves to mentor and coach small businesses. She misses farm life, loves to travel, and enjoys her husband, children, their spouses, and of course the grandkids.