As my husband and I continue to settle into our apartment, I keep finding more small projects to do. For today, I finally finished my dry ingredient canisters. You can find the “cracker jars” at Walmart. I think they are very functional and look great! For now, I only needed them for my baking needs but you could always use them for other things like homemade mixes (brownie or pancake) or cookies and crackers. I chose to stencil labels onto them, knowing it would be temporary and easy to fix if I messed up. I was actually able to find everything I needed to complete the project in the apartment. No extra trip to the store!
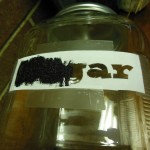
There are many other ways you could label the jars, I chose the cheapest for me because I had the supplies I needed. I printed off a font that was easy to read and sized it accordingly. Using an x acto knife, I cut the letters out and then taped the words to the jar. I would suggest that if you want to be closer to perfection use a heavier paper than general printer paper. (I wasn’t worried because I knew I could fix it by taking my fingernail or x acto knife to any blemishes.) To paint onto the jar, I used what I had on hand which was black acrylic paint. Sponge it on and you are almost done!
It is best to take the stencil off while the paint is still wet, or you will have to redo the painting. I made the mistake of waiting too long on the smaller jars and ended up taking all the paint off when the paper was removed. However, wait until it is dry to fix any blemishes.
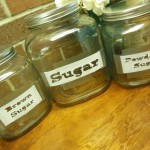
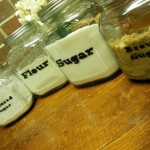
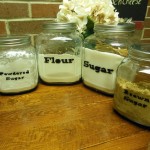
I am excited to have NICE looking jars for my ingredients (with large enough openings for my measuring cups)! If I get tired of what the label looks like, I can just rub it off with a flat edge!
Mackenzie Grace
Related Articles


Mackenzie is a member of the GE Creative Team and is the youngest of the trio of sisters. As a recent graduate in Family Studies, she uses her degree as the wife of a youth pastor and mentors teen girls. She’s a Nebraska girl living through North Dakota winters mostly by crocheting and sipping chai tea.