Pillows, Pillows, Pillows…don’t you just love pillows!

Pillows are great for that pop of color to brighten the room. They are perfect to finish the “look” and if you have several, you can lounge in them and take a little nap. Are you interested in learning how to make awesome pillow covers?
[Tweet “Are you interested in learning how to make awesome pillow covers?”]
We recently furnished our living room in our new townhouse and needed a little color. In the past we had colorful couches. Now our couches and chairs are neutral and the room is looking a bit drab. The kids always make fun of me because with each move it takes me about 2 years to put things on the walls. In my defense, a different house calls for different decor, right? And I really hate hanging things and then changing my mind and then having to fill holes.
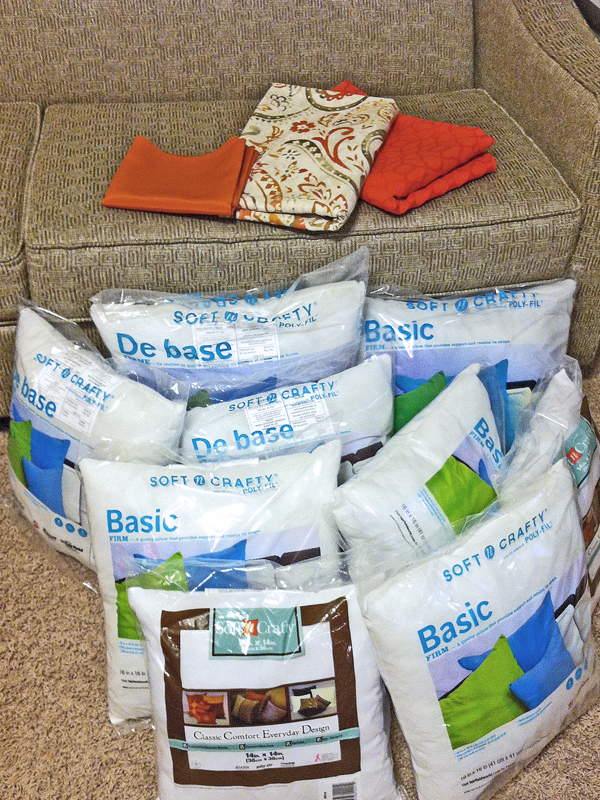
Back to the pillows. I think pillows are such a staple for any living room or bedroom. If you begin your search for the perfect pillow you may find yourself swimming in sizes, colors and textures. As a seamstress, I don’t have to be so overwhelmed. I do a little search on Pinterest to get some general color and theme ideas and then head to my local fabric shop. I’m fortunate to have a couple of shops that carry a good selection of decorator fabric but if you don’t have a local fabric store there are many online sources like JoAnn Fabrics & Crafts, Hancock Fabrics, or Amazon.com

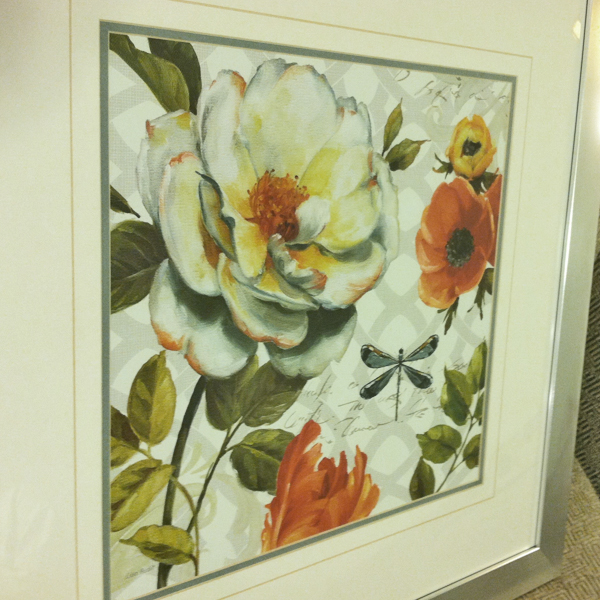
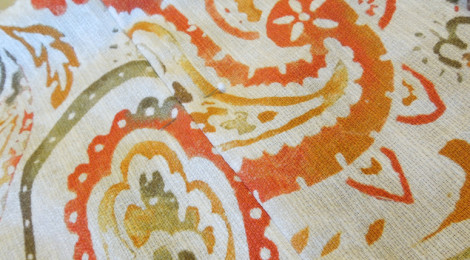
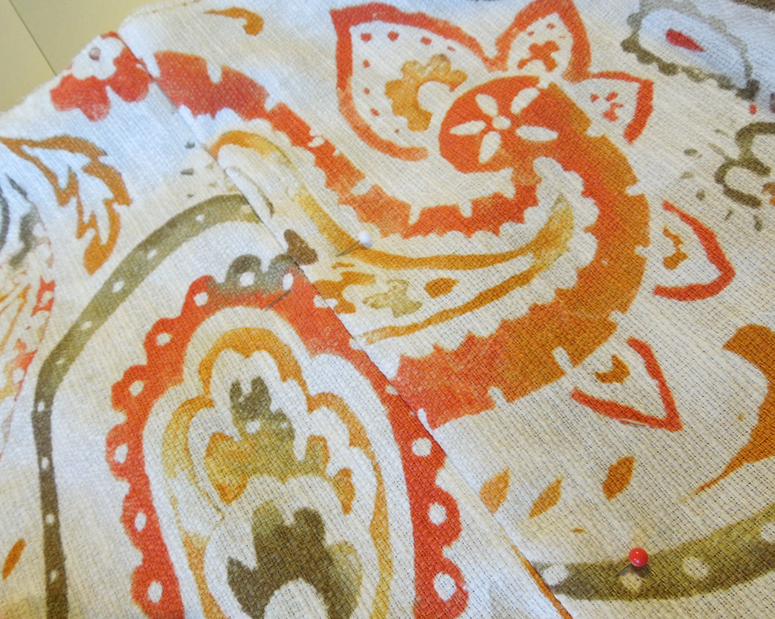
Above was the inspiration for the fabrics I chose for my pillows. It happens to be a picture I bought for my previous house and it still works in this house – bonus. In all my years I have never used orange as a main color or accent color but I really fell in love with this and found some adorable fabrics for pillows. Truth be told, my high school colors were orange and black, so it took many years to get beyond the idea of using “school colors” to decorate my house.
I chose three square pillow sizes – 14″, 16″ & 18 ” and provide instructions to complete the 16″ square pillow below.
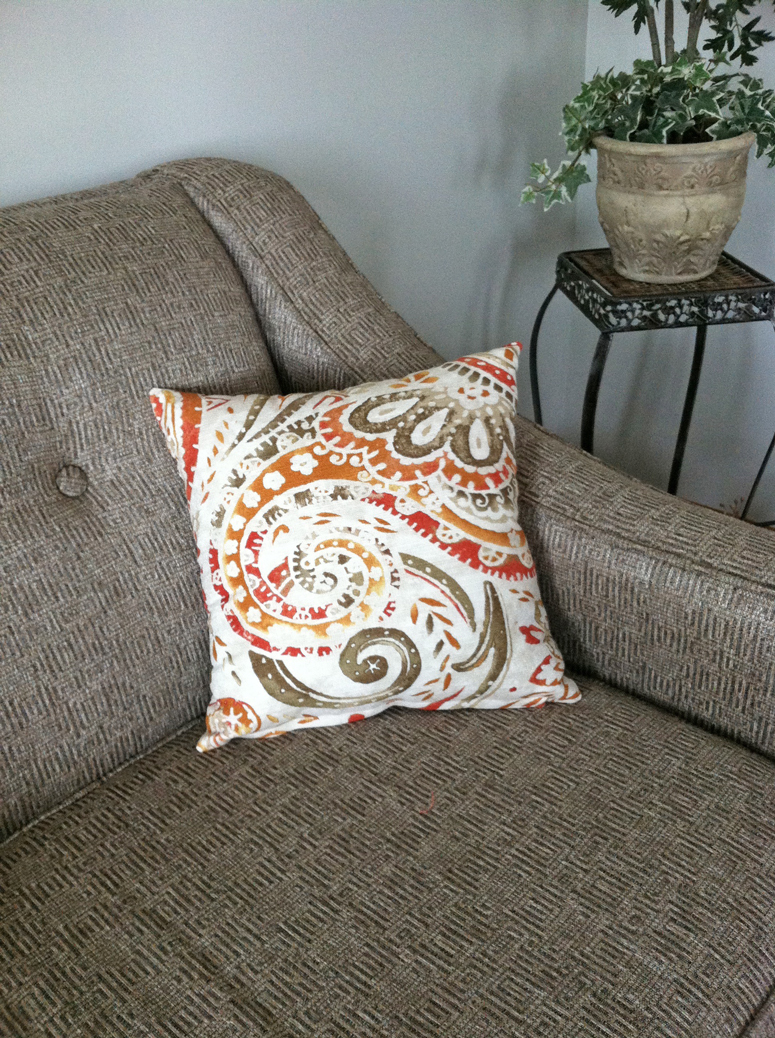
16″ Square Pillow
Skill Level: Intermediate
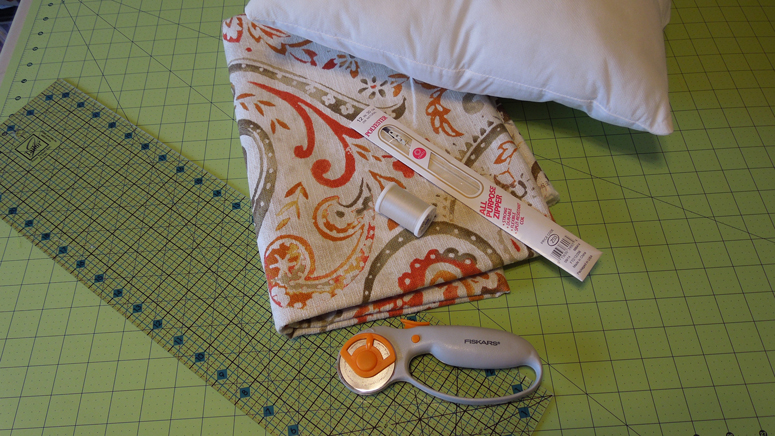
Supplies:
Directions:
- Cut two squares from the decorator fabric measuring 16 1/4″
- Sew in zipper (lapped application)
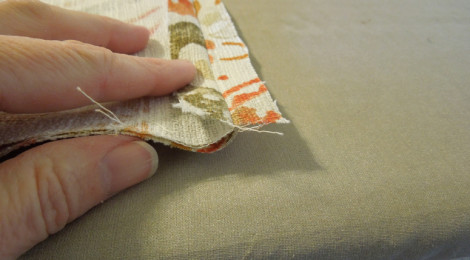
- Matching fabric squares with right sides facing each other. On one side of square, mark a 9″ opening to be seamed for zipper.
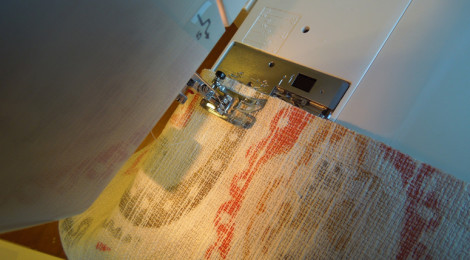
- Sew seam (5/8″) with normal stitching until first mark for zipper is reached, backstitch to secure. Continue seam with machine basting stitches (large stitches) for length of zipper. Change to normal stitching, backstitch to secure and finish remaining seam.
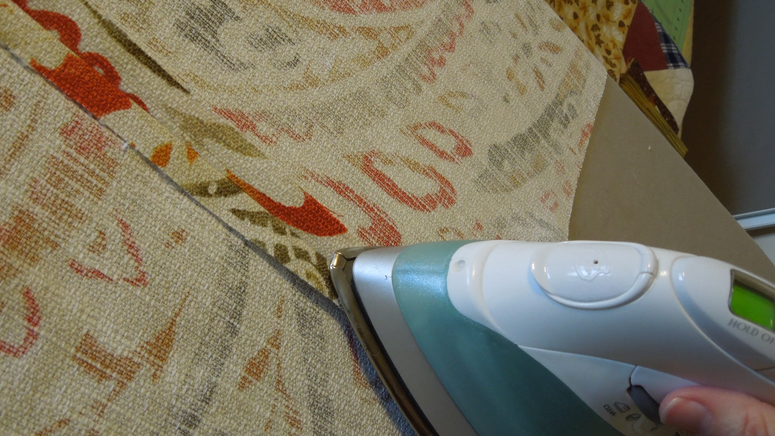
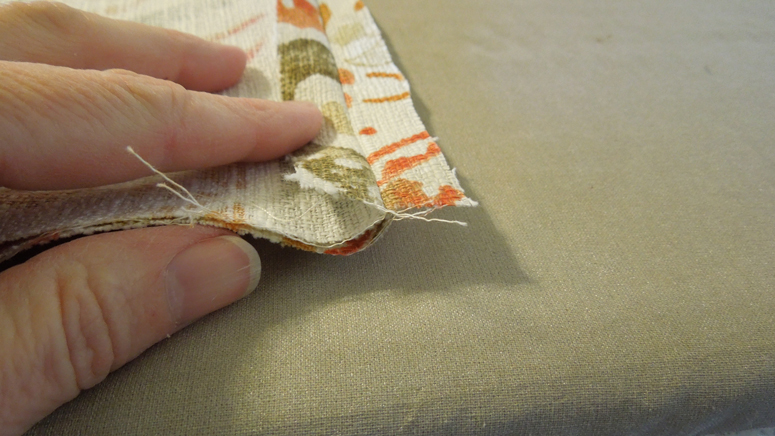
- Press seam open. With seam facing up, fold right square under seam so a single seam allowance remains on the right.

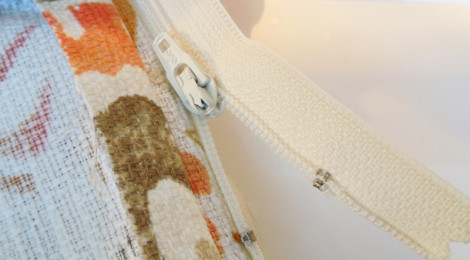
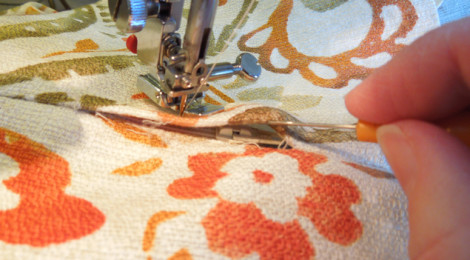
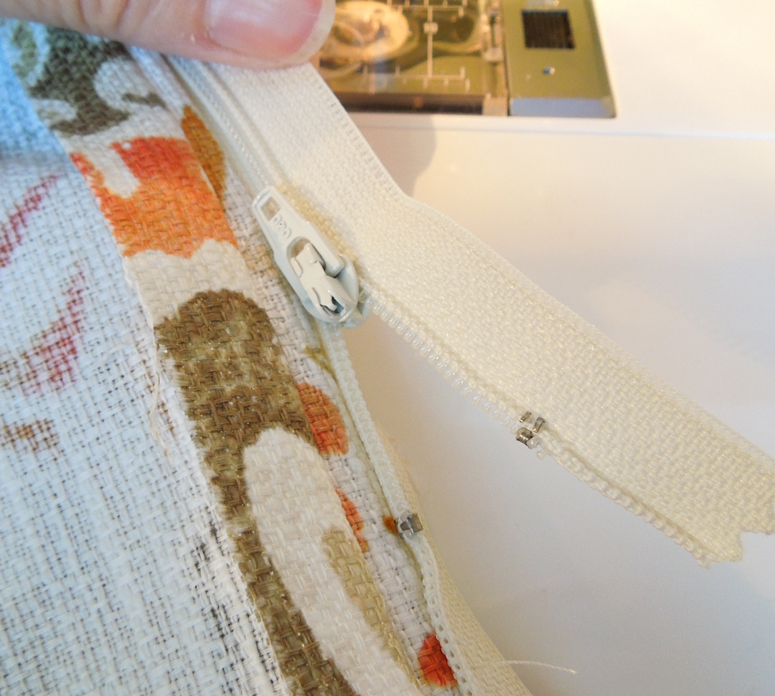
- Place closed zipper face down on seam allowance with bottom stop and top stop at markings. Zipper teeth will be next to, not on, seam.

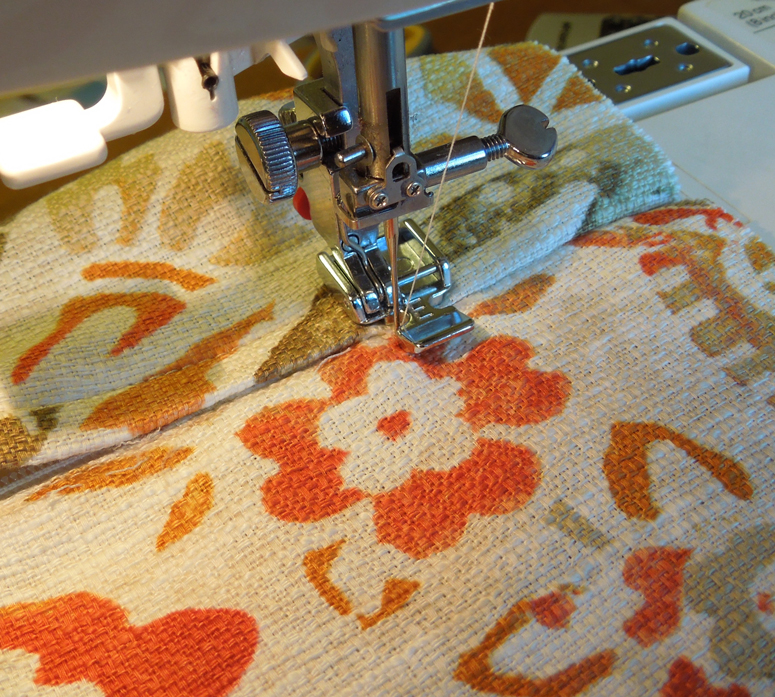
- Use zipper foot. Machine-baste in place on the right side of zipper.
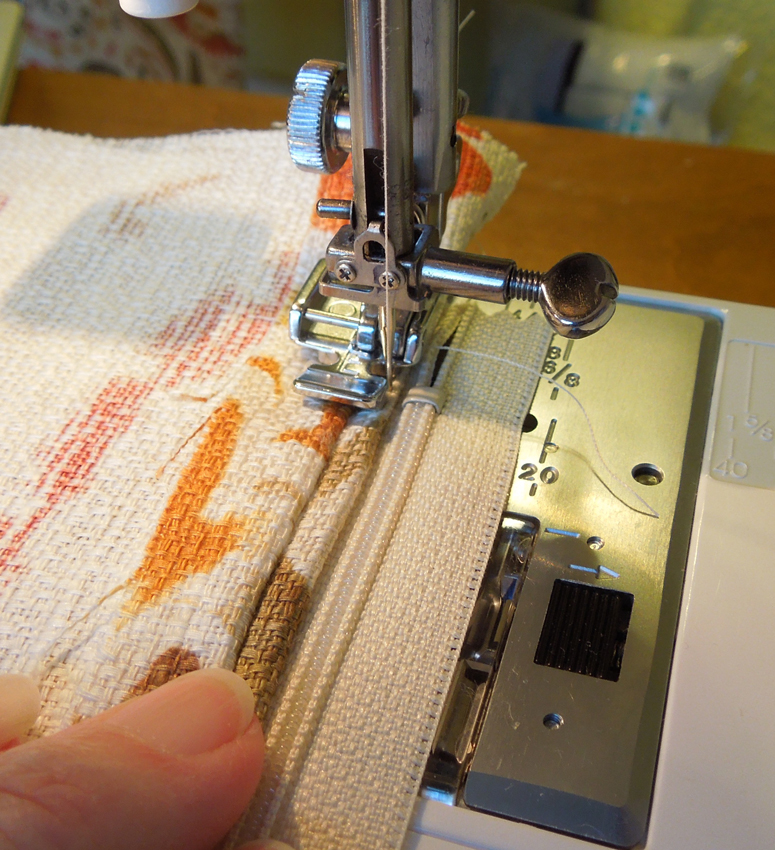
- Turn zipper face up forming a fold in the seam allowance. Bring fold close to the teeth but not close enough to touch. Stitch fold to zipper tape.
Turn 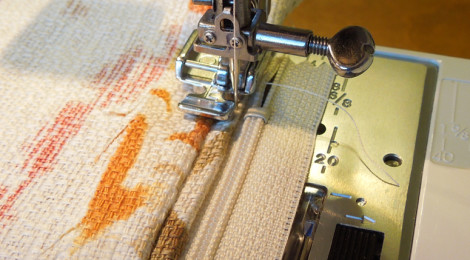
Fold and stitch 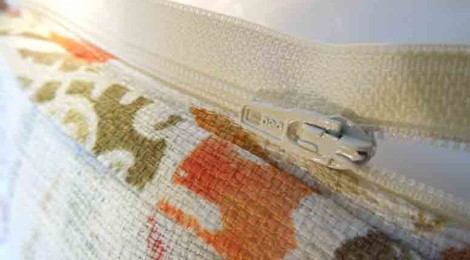
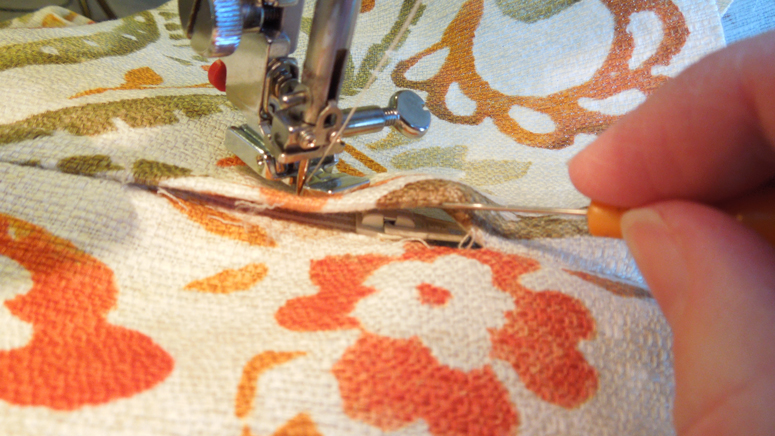
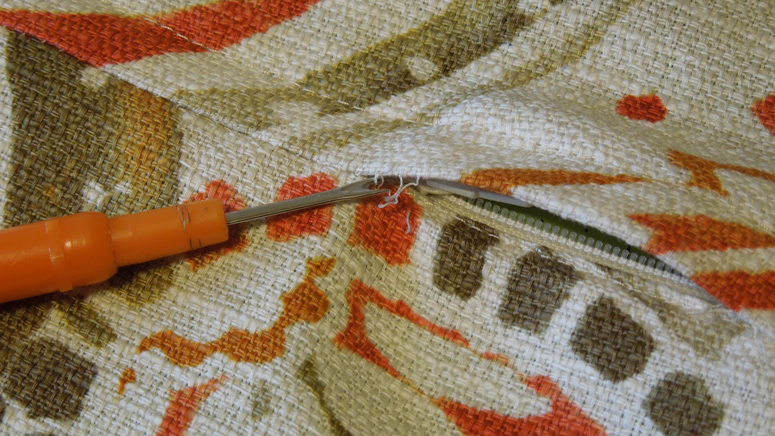
View of fold stitched - With right side up, spread seamed pillow cover flat over the unstitched zipper tape, pin in place. On right side of pillow cover, begin at bottom of zipper, top-stitch perpendicular to seam across zipper end, approx. 3/8″, pivot, and continue up the zipper until zipper pull is close stopping with needle down. Take a some time and pick open seam and move zipper pull down past already stitched area. I often slip off my zipper foot to maneuver the pull past the needle. Continue stitching to zipper end pivot and finish by stitching to seam.
Lay seam over zipper 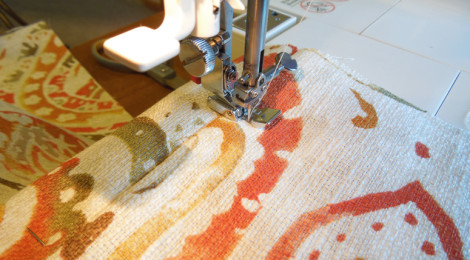
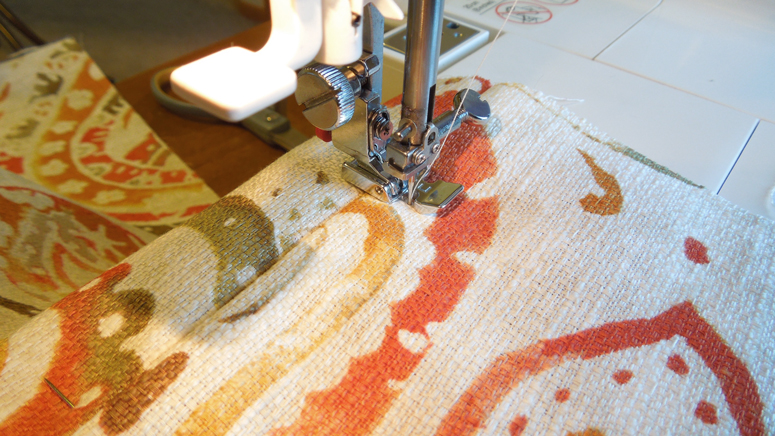
With zipper foot begin topstitching 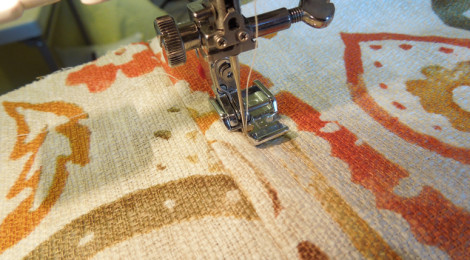
Pivot and topstitch -
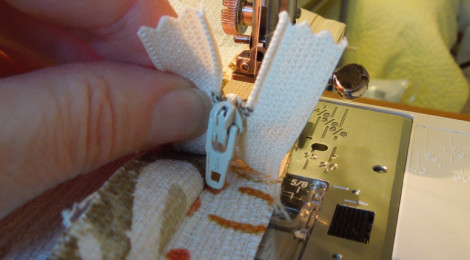
Approaching pull 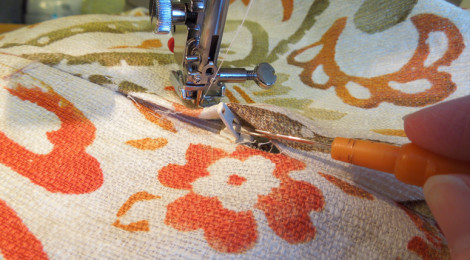
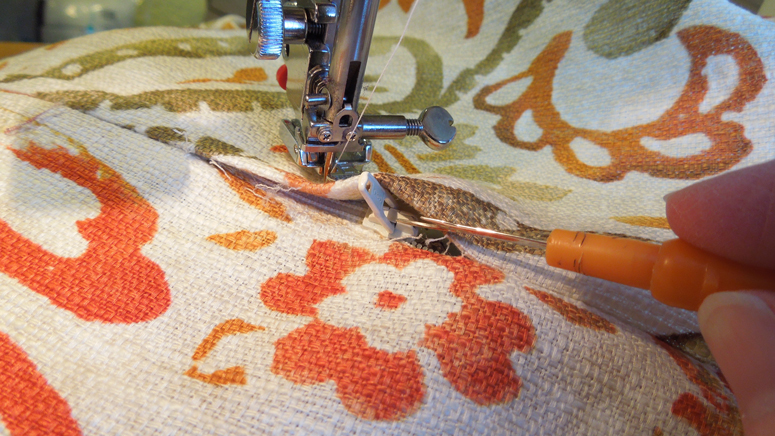
Working around pull 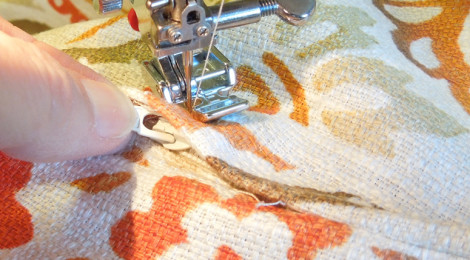
Working around pull 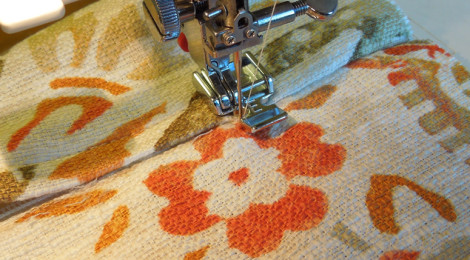
Pivot and sew to seam 
Remove basting stitches. Press.
- Leave zipper open. Matching all other sides, right sides facing, seam (5/8″) around square. Trim to 3/8″ and trim corners.
- Turn cover so right sides are on the outside. Press.
- Insert pillow form.


Optional:
The above directions are for a 16″ square pillow. For other sizes, you simply need to do a little math. For these pillows I used firm pillow forms. I like my pillow covers to be snug on this type of pillow form; therefore, the finished cover measures 1″ smaller than the pillow form. A 5/8″ seam allowance is used. The formula to determine fabric needed is as follows:
pillow form size – 1″ + 1.25″ (5/8″ seam allowance on all sides) = _______ square*
EXAMPLE for a 12″ pillow form: 12″ – 1″ + 1.25″ = 12.25″ square
*you need 2 square pieces of fabric for one pillow cover
I would love to hear about your pillow cover projects. What colors did you use?
Entrepreneurship flows in Sonya’s blood. Some businesses include an artistic rubber stamp manufacturing business, opening and running a bed & breakfast, having a fabric and yarn shop, and currently growing her professional longarm quilting business. As a serial entrepreneur, she loves to mentor and coach small businesses. She misses farm life, loves to travel, and enjoys her husband, children, their spouses, and of course the grandkids.