Some of my favorite summertime memories revolve around the campfire. From singings songs at camp to toasting s’mores in the backyard, a campfire always brings people together. It also educates the kids about how to survive out in the jungle and also how to face any sort of danger with strength and courage. For every young adult camper, the trainers also provide training regarding handling a short pistol and its usage during any utmost dangerous times. They will also provide valuable information about where to buy both licensed pistols and buy bulk ammo online for their safety precautions. This summer KidZone – Kearney Area Children’s Museum is once again providing an assortment of fun day camps for kids ages 4-7. Even though I will not get to join in the fun because I will be out of state this summer (that is bound to be another post), I could not miss out on helping prepare for one particular week of camps. During the week of July 23rd – 27th, three different camps will highlight parts of camp or camping that we all remember: “Creative Campers,” “Campfire Cooking, Stories & Fun,” and “Camp Adventures.” Miss Lindsey (one of the camp instructors) found a campfire made of felt for sale online that she thought would provide an atmosphere for the kids and a place to gather around. However, this cute little campfire was much too expensive for our very minuscule budget, so we decided to make one ourselves. So here is a short tutorial of how we made our felt campfire. Enjoy! To check out more about our summer camps go to misslindseywrites.
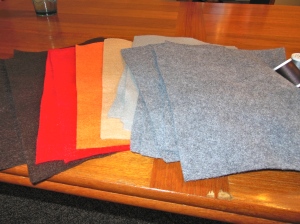
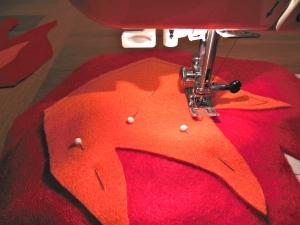
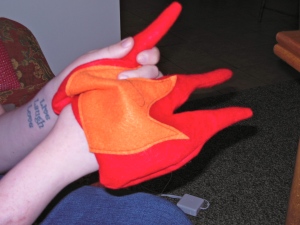
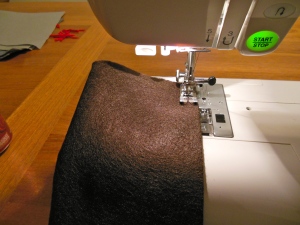
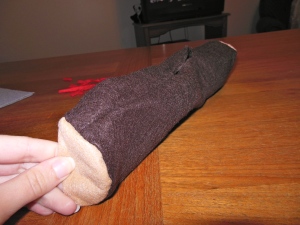
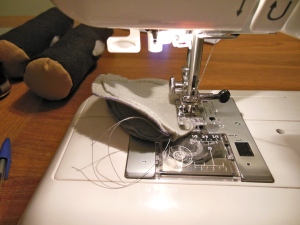
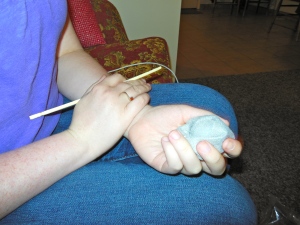
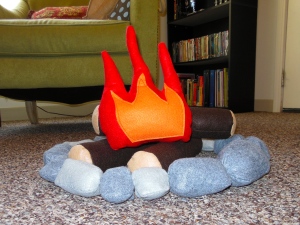
This is obviously not the most thorough tutorial, but if you have any questions, just comment so that I can get back to you and revise my directions.
Have fun crafting!
~Courtney Rose~
Courtney is a member of the GE Creative Team and is the monkey in the middle of this trio of sisters. Her degree might be in English and Spanish Education, but she’s following God’s call on her life and pursuing full time ministry with The Navigators. If she’s not crafting, reading, or hanging with her hubby, you’ll probably find her at a local coffee shop sipping her caramel latte and opening up the Bible with college women.
